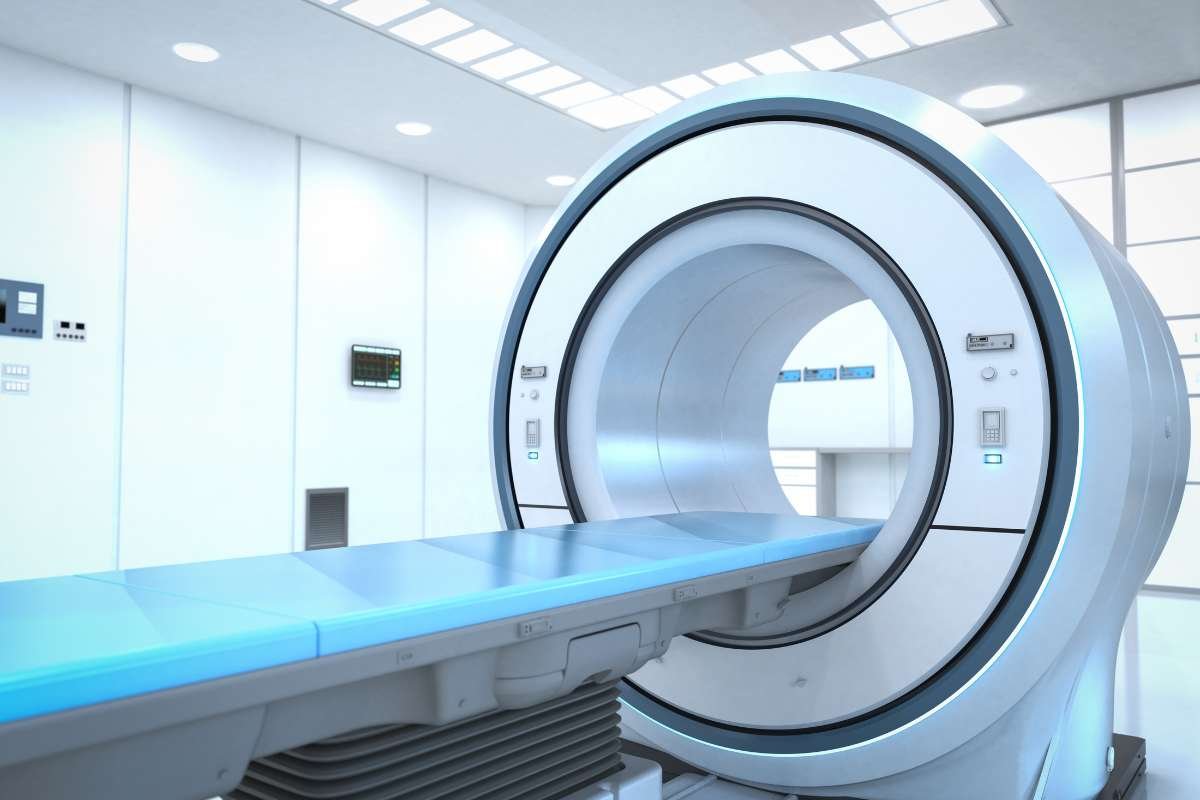
Industrial computed tomography (CT) scanning provides a non-destructive window into the hidden internal structure of manufactured parts and assemblies. Just as medical CT scans enable doctors to see inside the human body without making an incision, industrial CT scanning gives engineers and quality assurance teams detailed, three-dimensional insight into internal features—such as pores, cracks, voids, and complex geometries—without causing any harm to the component. This capability is especially vital in industries like aerospace, automotive, and electronics manufacturing, where internal integrity can make the difference between reliable performance and catastrophic failure. But how exactly does industrial CT work, and what steps ensure that it delivers the clarity and accuracy required?
Fundamental Principles of X-ray Imaging

At the heart of industrial CT scanning lies X-ray imaging. X-rays, being high-energy electromagnetic waves, can penetrate solid materials, but they do so with varying degrees of attenuation depending on the material’s density and thickness. A typical CT scanning setup includes three main elements:
1. X-ray Source: The source generates a beam of X-rays that passes through the part under inspection. Depending on the application, a broad range of energies (from low keV to high MeV) may be used, ensuring suitable penetration and contrast.
2. Rotational Stage (Manipulator): The component being inspected is placed on a stage capable of precise rotation. Instead of taking a single image, the system acquires a series of projection images at different angles—often hundreds or even thousands of them. Each projection is akin to a “shadow” of the part’s internal features.
3. X-ray Detector: Positioned on the opposite side of the part, the detector captures the X-rays that have passed through. Modern detectors, typically digital flat panels or line detectors, measure variations in intensity that correspond to internal structures. Denser regions block more X-rays and appear darker, while less dense or empty regions allow more X-rays through, appearing lighter.
From Projections to Cross-Sections
Collecting a comprehensive set of projections is only the first step. The real power of CT scanning emerges during the reconstruction phase, where computational algorithms transform these 2D projections into a stack of cross-sectional images. The mathematical foundation behind this process is deeply rooted in concepts like the Radon transform and Fourier analysis. By applying well-established reconstruction algorithms—such as Filtered Back Projection or more advanced iterative techniques—the scanner’s software “rebuilds” the internal structure slice-by-slice.
Ensuring that enough projections are acquired is crucial. Too few projections can lead to undersampling—imagine trying to piece together a three-dimensional object’s shape with only a handful of silhouettes. Insufficient projections may result in star-like artifacts or noisy, low-contrast images, making it harder to identify subtle defects. This is analogous to ultrasonic testing or other NDT methods, where having adequate data coverage ensures a clearer and more accurate representation of the component’s internal state.
3D Volume Creation and Analysis

Once each cross-sectional slice is computed, these layers are combined to form a full three-dimensional volume model. This digital model can be analyzed from any angle, sliced virtually in arbitrary planes, and measured to micron-level accuracy. Engineers can compare the scanned object against its original CAD design to check for dimensional deviations, or apply advanced image-processing tools to segment features, measure porosity, or characterize cracks and inclusions.
Furthermore, the resulting data can be exported into various formats for advanced analysis or digital archiving. In some cases, the CT data feeds into simulations, allowing engineers to understand how certain internal flaws might affect the mechanical performance or fatigue life of the component.
Advanced Techniques and Calibrations
High-quality industrial CT scanning involves more than just turning on the machine and pressing “scan.” Proper calibration and careful technique selection ensure accurate, repeatable results. For instance, beam-hardening correction algorithms counteract the tendency of lower-energy X-rays to be absorbed more readily, which can otherwise distort density measurements. Scatter reduction techniques, careful alignment, and the choice of X-ray filters all fine-tune the imaging setup. Additionally, selecting the appropriate voltage, current, and exposure time can optimize contrast and reduce noise.
Moreover, different scanning geometries—such as cone-beam or fan-beam CT—suit different applications. Cone-beam setups often yield faster scans and are common in industrial contexts, while fan-beam systems, though sometimes slower, can provide high-resolution results for certain specialized tasks. Just as in ultrasonic phased array or time-of-flight diffraction techniques, the best approach depends on the specific requirements: material type, defect size, shape complexity, and acceptable inspection times.
Why Industrial CT Matters?

Industrial CT scanning’s ability to reveal what lies beneath the surface, without cutting or damaging the part, is invaluable. It ensures that critical components meet their specifications before they go into service. By identifying flaws early, manufacturers can reduce waste, refine their processes, and enhance product reliability and safety. In a world that increasingly demands higher standards and faster innovation, industrial CT scanning stands as a vital tool for ensuring that internal quality matches external expectations.
Conclusion
From capturing numerous X-ray projections to reconstructing detailed 3D volumes, industrial CT scanning offers a comprehensive, non-destructive view of internal structures. Through proper calibration, sufficient sampling, and careful application of advanced algorithms, CT scanning delivers insights that drive better decision-making, foster continuous improvement, and ultimately ensure that products meet their most demanding performance and safety criteria.


