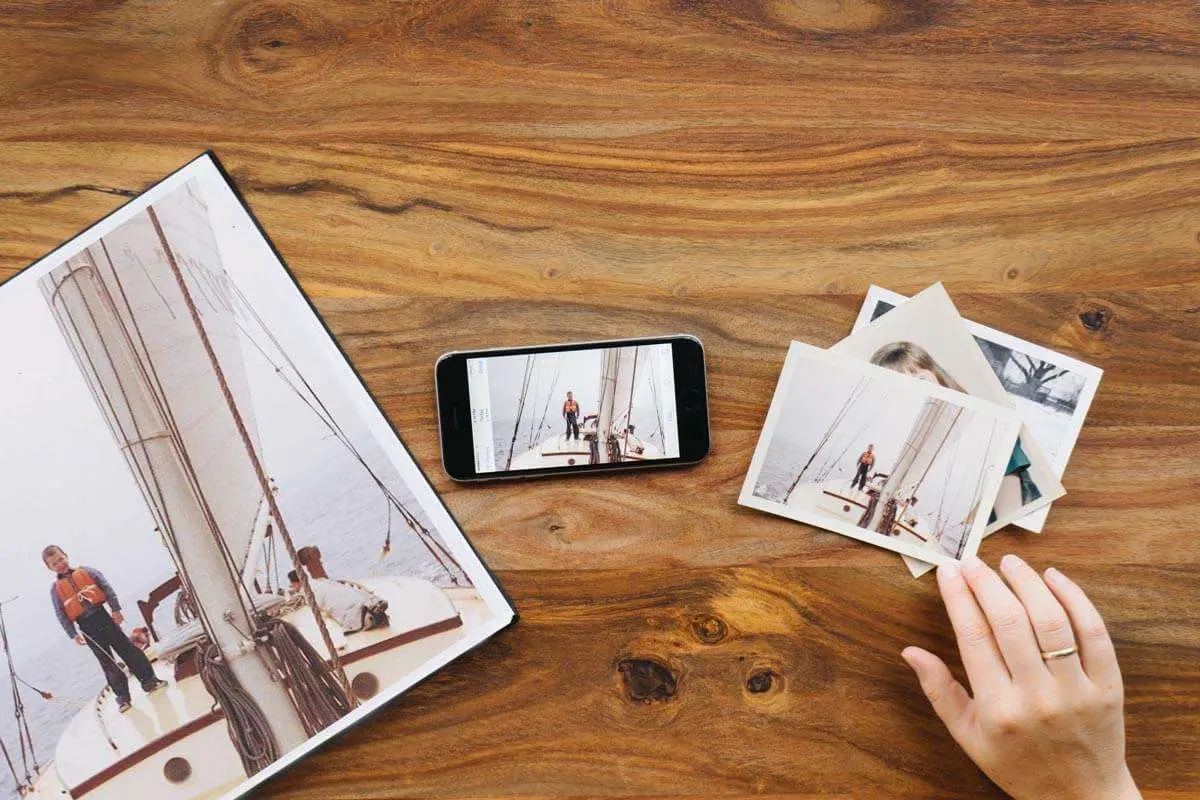
There is a specific kind of disappointment that comes from sending a photo to print and receiving something blurry, blocky, and visually flat in return. The image looked perfectly fine on your phone screen or laptop display, but the printed version reveals every flaw that the self-lit pixels of a digital screen had been quietly hiding. This gap between screen appearance and physical paper is one of the most common frustrations photographers, families, marketers, and designers encounter.
Fortunately, modern artificial intelligence tools can now bridge this gap, serving as an image enhancer and object remover to improve low-resolution photos for printing. These tools give your images the pixel density they need to produce sharp, detailed prints at any size. Understanding why resolution matters for print, what the numbers actually mean, and how AI reconstruction works will help you get consistently better printed results from images you already have.
Why photos that look sharp on screen fail in print
The disconnect between screen appearance and print quality exists because screens and printers operate on fundamentally different principles. A digital screen is a self-illuminated grid of tiny lights. Each pixel on a modern phone or monitor glows at full brightness, which means even a relatively low-resolution image can appear sharp and detailed because the light-emitting pixels fill your vision with color and contrast. Screens typically display at 72 to 96 pixels per inch, and at that density, even a modest resolution image reads as crisp and clear.
A printer works in the opposite direction. It deposits physical ink dots onto paper or canvas, and those dots are not illuminated. They depend entirely on reflected light to be visible. At this physical scale, detail requires actual pixel density. The standard for professional-quality photo prints is 300 dots per inch, meaning that for every single inch of the finished printed image, the source file must contain 300 pixels of real information. A 4 by 6 inch print at 300 DPI requires 1,200 by 1,800 pixels in the source file. A 12 by 16 inch print at the same standard requires 3,600 by 4,800 pixels. A 24 by 36 inch poster requires 7,200 by 10,800 pixels at full quality.
This is why an image that displays beautifully on a phone screen at 72 pixels per inch looks pixelated and blurred when stretched across a printed canvas. The original file simply does not contain enough pixel information to fill the physical space the printer needs to work with. Stretching low resolution data across that space forces the printer to invent pixels through mathematical averaging, which produces the blocky, smeared quality that characterizes a bad print.
Understanding the resolution numbers that actually matter for print
Knowing the right resolution targets before you begin preparing a photo for print prevents the most common mistakes. The 300 DPI standard applies to prints that will be viewed at close range, which covers most consumer print formats: framed photo prints, greeting cards, photo books, product packaging, brochures, and anything a viewer will hold or examine closely.
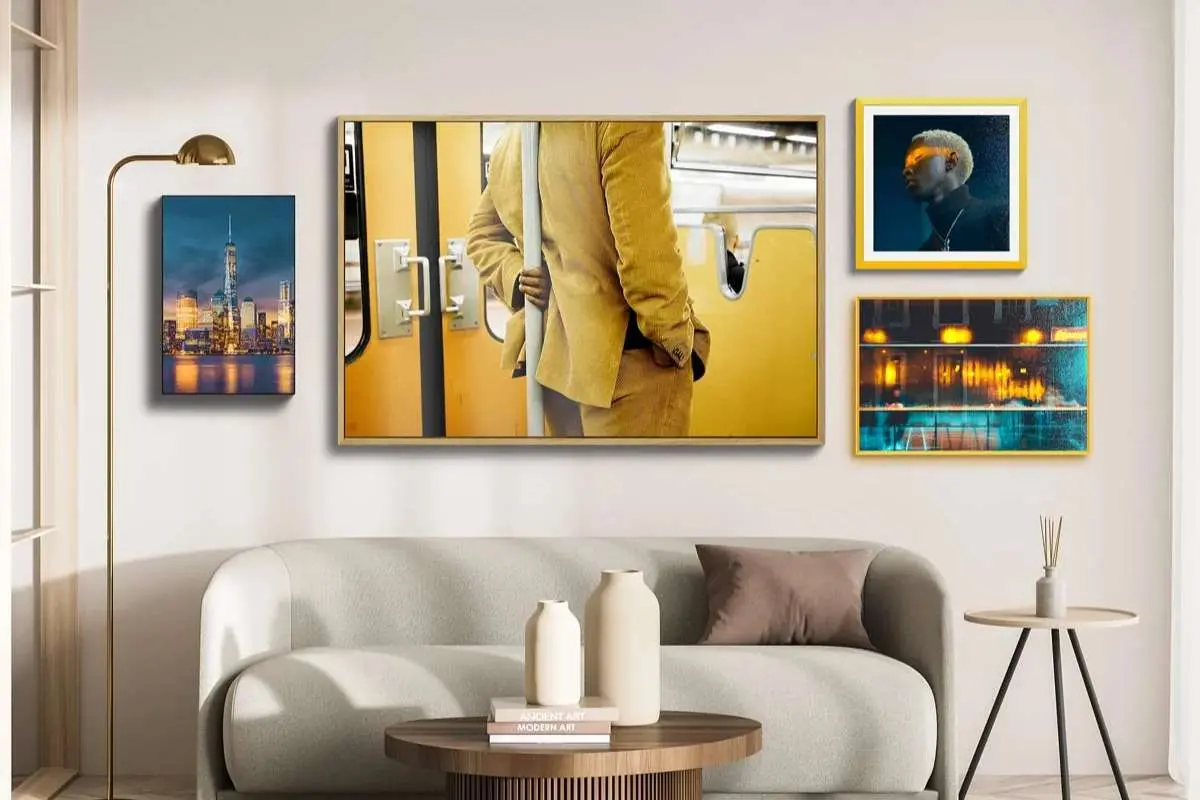
Large format prints meant to be viewed from a distance operate under different requirements. A poster hung on a wall and seen from six feet away does not require 300 DPI because the viewing distance compensates for lower pixel density. Poster-sized prints typically perform well at 150 to 200 DPI. Canvas prints, which have a textured surface that naturally diffuses fine detail, work well at 150 to 240 DPI for standard wall art sizes. Outdoor banners and billboards viewed from many meters away can look excellent at 50 to 100 DPI because no viewer is ever close enough to see individual dots.
The practical implication of these standards is that the minimum pixel dimensions your source photo needs depend directly on the physical size of the print and how it will be viewed. A photo with 2,400 by 3,000 pixels is perfectly adequate for an 8 by 10 inch framed print at 300 DPI. However, that same photo would produce noticeably soft results at 16 by 20 inches unless you use software to improve low-resolution photos for printing first.
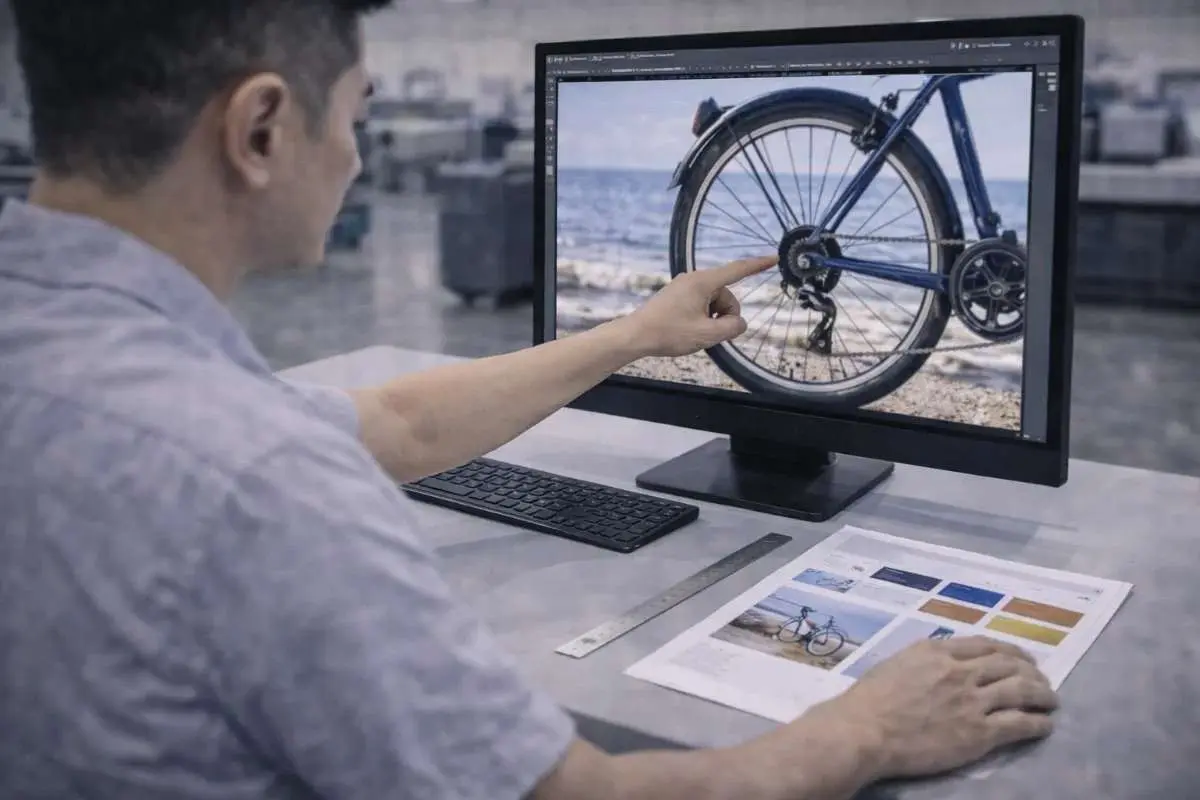
How AI reconstruction adds real detail rather than blurring
Traditional software approaches to enlarging low resolution images rely on mathematical interpolation. When a program like older versions of Photoshop needed to enlarge an image, it estimated the values of new pixels by averaging the colors of neighboring existing pixels. The results look smooth, but they also look soft. Edges lose sharpness. Textures flatten. Fine details like hair strands, fabric weave, or printed text become indistinct. The image gets physically larger but visually weaker.
AI upscaling works from an entirely different foundation. Modern super-resolution models are trained on enormous datasets of paired images, low-resolution versions and their high-resolution counterparts, covering millions of real-world photographs across every subject type imaginable. Through this training, the AI learns the structural patterns that define real high-resolution detail. It learns what facial skin looks like at high resolution. It learns how the texture of wool, concrete, wood grain, and glossy packaging should appear when rendered with full pixel density. It learns the characteristic sharpness of edges, the behavior of light across curved surfaces, and the grain patterns of different photographic materials.
When you process a low-resolution photo through this kind of model, the AI does not simply average nearby pixels into the enlarged space. It analyzes the content of the image, identifies what it is looking at based on its training, and generates new pixels that represent what a genuinely high-resolution version of that content would look like. The result is enlargement that adds real-looking detail rather than spreading existing information thinner. Hair appears sharper. Textures become more defined. Edges hold their crispness even at significant magnification factors.
The right approach to preparing photos for different print formats
Getting consistently good printed results from low-resolution source photos requires thinking about the preparation process in a structured way rather than simply running everything through an upscaler and hoping for the best.
If you want to improve low-resolution photos for printing, the first step is always to identify the target print size and the intended viewing distance. These two factors determine the pixel dimensions you need to produce, which in turn tells you how much enlargement the AI will need to generate. A photo being prepared for an 8 by 10 inch framed print needs fewer additional pixels than the same photo being prepared for a 20 by 30 inch canvas. Knowing the target before you begin means you can process the image to exactly the right output dimensions rather than over-upscaling or under-upscaling.
Starting with the highest quality version of the source file available matters enormously. Many people work with social media downloads, messaging app transfers, or screenshots without realizing these are heavily compressed versions of the original. Social media platforms routinely strip resolution from uploaded photos to reduce bandwidth. A photo shared through messaging apps can lose 60 to 80 percent of its original pixel data through compression. If the original camera file or an uncompressed version of the image is accessible, starting from that produces dramatically better results because the AI has more genuine detail to work with and extend.
For photos that have accumulated JPEG compression artifacts over multiple saves and transfers, addressing those artifacts specifically before the upscaling step produces cleaner output. AI noise reduction and artifact removal work best when applied to the source before enlargement because compression artifacts that are small and manageable in a low-resolution file become visible and obvious after the image has been enlarged. Cleaning the source first gives the upscaling model cleaner input to reconstruct from.
Matching output format to the print medium
The format in which you save the upscaled image matters as much as the pixel dimensions themselves. TIFF format preserves all pixel data without any compression loss and is the preferred file format for professional print workflows, commercial printers, and fine art reproduction services. PNG is a good alternative that provides lossless compression, keeping file sizes more manageable than TIFF while retaining full image quality. JPEG at very high quality settings, 90 percent or above, is acceptable for most consumer print services, but repeatedly saving a file in JPEG format degrades it with each save, so the upscaled version should be saved to JPEG only once as the final step after all editing is complete.
Color space is another technical factor that print services care about. The sRGB color space is widely compatible and works correctly with most consumer and professional printing services. CMYK conversion is only necessary if the print workflow specifically requires it, which is typically the case only in commercial offset printing for publications and marketing materials rather than standard photo printing.
The combination of AI upscaling, proper DPI targeting, clean source material, and the right output format is the ultimate way to improve low-resolution photos for printing. This strategy transforms what was previously a painful and often disappointing process into a straightforward workflow. Images that would have produced blurry, pixelated prints when sent directly to a lab can now be prepared properly, coming back from the printer with the sharpness, texture, and tonal clarity that makes a printed photo worth keeping.