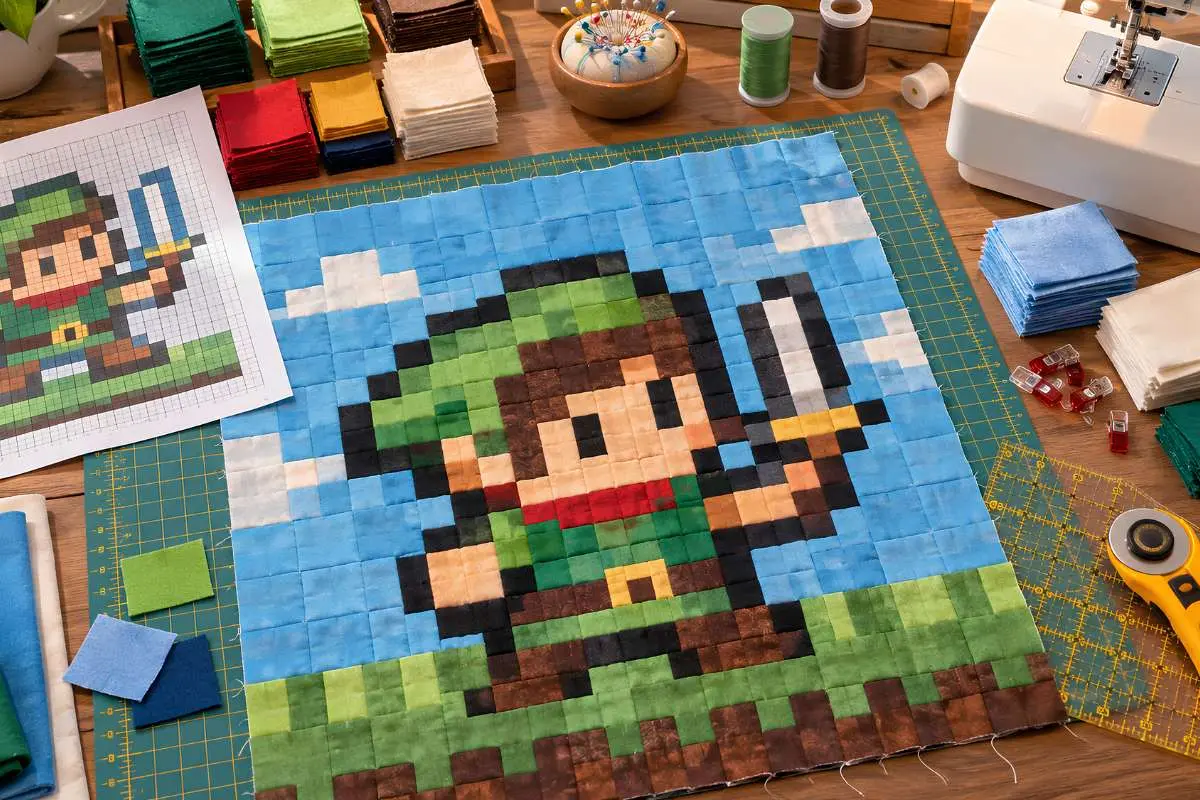
A sprite from a NES game and a quilt block are the same thing. Both are a grid of coloured squares that only becomes an image when you step back far enough. That overlap is not a coincidence of aesthetics, it is structural, and it is why pixel quilting has quietly become one of the more satisfying ways to put a favourite character on a wall or a bed.
You do not need to be a quilter to attempt this. Pixel quilting is the most beginner-accessible form of quilting there is, because every piece is a square, every seam is straight, and there are no curves, points, or matching angles to get wrong. If you can sew a straight line, you can make one. Here is how the process actually works.
How a sprite becomes a quilt?
1. Pick a sprite with the right resolution
Resolution is the first decision and the one that determines how long the project takes. A sprite is a grid, and every square in that grid becomes a piece of fabric you have to cut and sew.
A classic NES-era character sprite is often around 16 by 16 pixels. That is 256 squares, which is manageable. A 32 by 32 sprite is 1,024 squares, which is four times the work for a modestly larger image. Start smaller than you think you should. A Space Invaders alien, a Tetris piece, a heart container, or a single item sprite makes a far better first project than a full character in a detailed pose.
The other consideration is colour count. Early sprites were restricted to a handful of colours by hardware limitations, which works in your favour here. A sprite using six colours is dramatically easier to source fabric for than one using twenty.
2. Get your pattern (you probably already can)
You do not need a quilting pattern. You need a grid chart, and two enormous existing libraries already provide exactly that.
Cross stitch patterns are grid charts by definition, with one symbol per square. Perler and Hama bead patterns are the same thing again, since those crafts also work on a fixed grid. Searching for a character’s name alongside “perler” or “cross stitch” will usually turn up a usable chart in seconds, and it translates directly to fabric squares with no conversion needed.
Failing that, you can build your own. Open the sprite image, blow it up until individual pixels are visible, and transcribe it onto graph paper or into a spreadsheet with cells coloured to match. A spreadsheet is genuinely the better tool here, because you can resize the cells to square and get an accurate preview of the finished layout.
3. Choose your fabric, and understand why the shop matters
Learning how to make a pixel quilt starts with this critical step—it decides whether the finished piece reads as your character or as a vaguely familiar blur, yet it is the step most tutorials skip past.
Pixel quilts need solid fabrics, not prints. A print introduces visual texture that fights the pixel grid and breaks the illusion. They also need specific colours: an 8-bit sprite uses a fixed palette, and Mario’s red is a particular red. Get it approximately right and the character stops being instantly recognisable.
That combination, many exact colours in small quantities, is the reason a general craft store usually disappoints here. Craft store solid ranges are narrow, so you end up approximating shades. A dedicated quilt shop carries solid quilting cottons in full colour ranges, often dozens of variations within a single colour family, which is exactly what matching a sprite palette requires. Buying fat quarters, a standard cut of roughly 18 by 22 inches, is the sensible format: a pixel quilt needs small amounts of many colours rather than large amounts of a few.
One technical point worth knowing before you buy. Fabrics are described by colour name, but what actually matters is value, meaning how light or dark a fabric reads. Two fabrics can both be called blue and one will vanish against your background while the other pops. A quick test is to photograph your fabric choices together in black and white. If pieces that should be distinct blend into the same grey, you need more contrast between them.
Stick to 100% quilting cotton. It holds a crease, feeds evenly through a machine, and does not stretch out of shape while you handle it, all of which matters enormously when you are sewing hundreds of small squares that need to line up.
4. Do the maths on square size
Each pixel becomes a square, and each square needs seam allowance added to it.
The standard quilting seam allowance is a quarter inch on each side, so a square cut at 1.5 inches finishes at 1 inch once sewn. That is the most common choice for pixel quilts and a good default. Cut at 2.5 inches for a 2 inch finished pixel if you want a larger quilt with the same sprite.
Multiply out before you commit. A 16 by 16 sprite at 1 inch finished pixels produces a 16 inch square, which is wall hanging or cushion size. The same sprite at 2 inch pixels gives you 32 inches, which is a decent lap quilt. Deciding this first prevents the common disappointment of finishing a project considerably smaller than you pictured.
5. Cut efficiently using strips
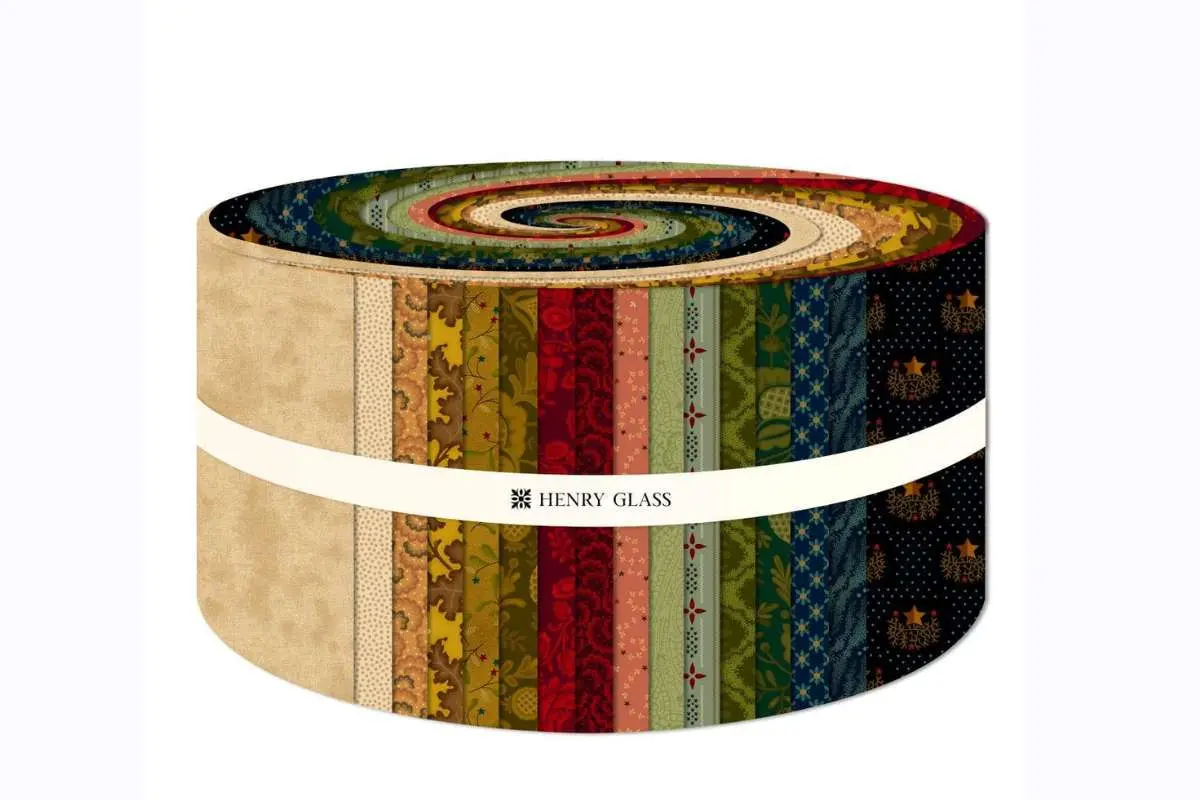
Cutting several hundred individual squares one at a time is where most people abandon this project. There is a much faster method, and it is standard practice in quilting.
Cut long strips at your chosen width first, running the full width of the fabric, then sub-cut those strips into squares. Counting how many squares of each colour your chart requires before you start tells you how many strips of each colour to cut. A rotary cutter, a self-healing mat, and a clear quilting ruler make this step fast and accurate. Scissors will work but will cost you both time and precision, and precision is what makes the grid line up later.
6. Lay out the whole design before sewing anything
Arrange every square according to your chart before a single seam is sewn. A design wall is ideal, but a floor, a bed, or a piece of batting taped to a wall all work fine.
Then photograph it. This is the single most useful habit in the entire process. The photo gives you a reference to rebuild from if the layout gets disturbed, and viewing your design as a small image on a phone screen simulates standing back from it, which is exactly how you spot a misplaced square or a colour that is not reading correctly.
7. Sew in rows, then join the rows
When learning how to make a pixel quilt, avoid assembling the block square by square. Instead, sew each horizontal row together first—keeping the rows in order—and then join the completed rows to each other. This approach speeds up the process while keeping the grid aligned far more reliably.
Press the seams of each row in alternating directions, row one to the left, row two to the right, and so on. When you join two rows, the seams will nest against each other and lock the vertical alignment into place. This is a small habit that produces a visibly sharper grid, and it is the main thing separating a crisp pixel quilt from a wobbly one.
Work with a consistent quarter inch seam allowance throughout. With this many seams, small inconsistencies compound quickly across the width of the quilt.
8. Finish it
Once the top is assembled, a quilt is three layers: the top, a layer of batting in the middle, and a backing fabric. Those layers get basted together, quilted with stitching to hold them permanently, and then bound around the edges.
For a first pixel project, simple straight-line quilting along the seam lines suits the design and requires no special skill. If the finishing stage feels like a step too far, plenty of people stop at the completed top and have it framed or mounted as wall art, which is a perfectly legitimate outcome for a sprite you want to display rather than sleep under.
A note on characters and copyright
Making a quilt of a favourite character for yourself, or as a gift, sits in the same territory as any other fan art. Selling reproductions of a recognisable copyrighted character is a different matter entirely, and rights holders in the games industry are not known for their relaxed attitude to it. If the plan is to sell your work, original pixel designs are the safer path, and there are plenty of them, from abstract geometric patterns to generic gaming motifs like hearts, controllers, and arcade iconography.
Why this crossover works so well?
Quilting and pixel art arrived at the same visual language from opposite directions. Long before learning how to make a pixel quilt, quilters were building images from grids of colored squares, centuries before digital displays existed. Hardware constraints later pushed game artists into precisely the same discipline: a limited palette, a fixed grid, and every square having to earn its place.
That shared logic is what makes the translation so clean. A sprite does not have to be adapted into a quilt, because it already is one. All that changes is the material, and the fact that the finished version keeps you warm.