
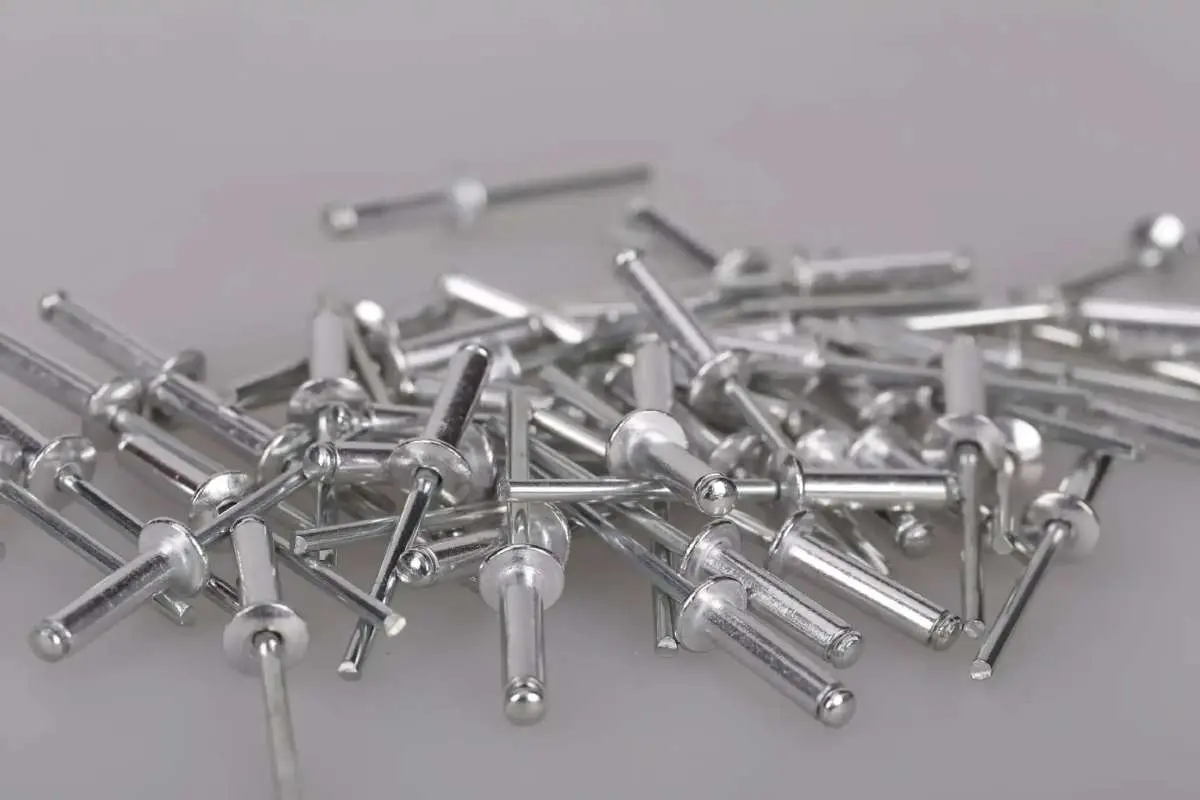
Selecting a rivet can look routine, yet the wrong choice often leads to loose joints, surface distortion, and shortened service life. Fabricators, buyers, and maintenance teams usually weigh sheet thickness, loading pattern, corrosion exposure, and installation method in the same review. A careful process reduces scrap, protects finished parts, and supports steady production. This guide explains the practical checks that help narrow options before any order is placed.
Tips for choosing the right solid rivets:
1. Start with the joint
Joint design sets the course for every later decision. Base metal thickness, hole quality, access for bucking, and service vibration all affect performance over time. In many assemblies, solid rivets remain a reliable choice because they form a dense shank, resist movement under repeated stress, and maintain holding strength in transportation, machinery, marine panels, and structural connections where looseness can create expensive repairs.
2. Match material carefully
Material selection affects forming pressure, strength, weight, and corrosion behavior. Aluminum suits lighter assemblies and damp locations where low mass matters. Steel supports higher loads in equipment frames and brackets. Stainless steel performs well around moisture, washdown cycles, or chemical splashes. Brass and copper fit electrical or decorative work. Close metal compatibility also helps limit galvanic action during long exposure to water or road salt.
3. Check load direction

Solid Rivets usually perform best in shear, so force direction deserves early attention. A side-loaded lap joint behaves differently from a panel facing peel or direct tension. Load estimates should reflect service conditions, not bench assumptions. Installers and engineers often compare expected stress, head style, and sheet support before settling on size. That review helps prevent weak fastening or unnecessary oversizing that slows assembly.
4. Choose the right diameter
Diameter has a direct effect on bearing area and shear capacity. A smaller body may set quickly, yet it can lack sufficient margin in thicker stacks. Larger sizes spread force better, though they need more driving energy and wider holes. Hole expansion matters as well, especially in a thin sheet. The best choice balances structural demand, installation control, and part geometry without adding avoidable strain.
5. Review grip and length

Length must match the total material thickness closely. A short shank may fail to form a full shop head, which reduces clamp integrity. Excess length can buckle during upsetting and leave an uneven tail. Many shops use simple allowance rules to estimate the extra body needed for proper formation. Consistent sizing improves repeatability, lowers rejection rates, and helps crews maintain steady output.
6. Pick a head style
Head shape changes load spread, surface profile, and finished appearance. Universal or round heads fit many general assemblies where a raised surface is acceptable. Flat heads work in tighter spaces with limited clearance. Countersunk patterns help produce a flush face for skins or covers. Wider styles can support a softer sheet by distributing pressure over a larger area, which reduces local marking and distortion.
7. Consider corrosion risks

Corrosion review should include the rivet, the parent metal, and the service setting. Moisture, salt, cleaning agents, and industrial residue can all shorten joint life. A protective finish may help, although coating alone cannot correct poor metal pairing. Stainless steel or aluminum often serves well in wet conditions, depending on load needs. Early planning reduces staining, seizures, and difficult removal during later maintenance.
8. Balance standards and supply
Dimensional accuracy matters as much as nominal size. Many production teams need parts that meet internal specifications, industrial standards, or regulated drawing requirements. Lot traceability and consistent inspection reduce unpleasant surprises at installation. Supply depth also deserves attention. A source with stable inventory, material range, and multiple head options can shorten lead times. That support becomes useful when repeat builds or schedule changes arise.
9. Use custom solid rivets when needed
Standard stock handles many jobs, yet some assemblies need altered geometry. Custom lengths, unusual diameters, or modified heads can solve fit problems without extra hardware. Shoulder forms may create spacing or pivot points within compact mechanisms. Smaller versions suit instruments and electronics. Larger structural pieces serve transportation or heavy equipment. Special cold-headed parts also help when drawings call for exact proportions outside catalog limits.
Conclusion
Choosing the right solid rivets depends on a short list of checks: joint design, force path, material pairing, dimensions, head form, corrosion exposure, and supply consistency. Teams that review those points early can reduce waste, protect assembled parts, and improve long-term reliability. Careful selection also supports cleaner installation and fewer field failures. In most applications, clear specifications lead to stronger fastening and better value over time.